Registering a website with Google Search Console
Google has a free tool called Search Console that “help you measure your site’s Search traffic and performance, fix issues, and make your site shine in Google Search results”.
This is super handy to make sure that your website is being properly indexed by Google, to keep on top of how much traffic it is getting, and to be on the lookout for errors.
Registering your website with Google
It only takes a few simple steps to add your website to Google’s Search Console:
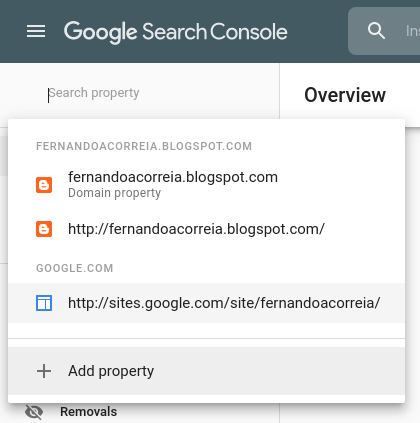
- Access Search Console.
- Open the pop-up menu and click o Add Property:
- Copy the verification code from the Verify dialog:
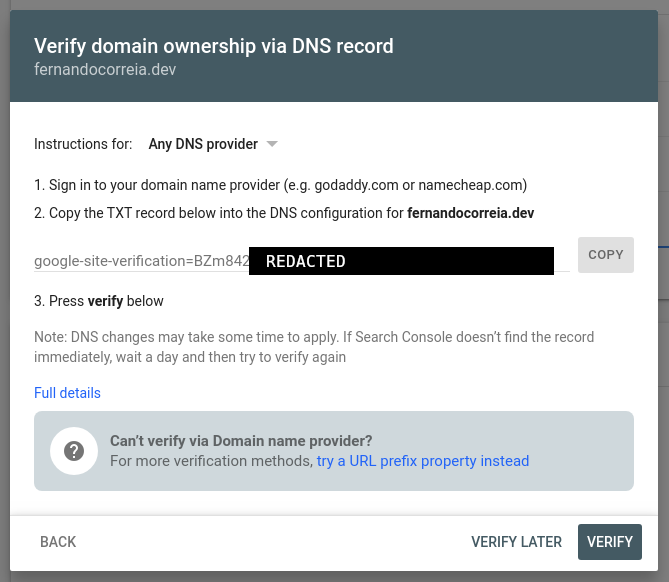
- On your DNS provider, add a TXT record with the text that you copied. For instance on Namecheap:

- Back on the Verify dialog, click on the Verify button.
Adding a sitemap
A great way to make sure that all of your site’s pages are indexed as quickly as possible is to register a sitemap with Google Search Console.
To do that, first set up your website to automatically build a file listing your pages, in one of the supported formats.
For instance, my blog is generated with Hugo, which automatically creates RSS 2.0 templates. You can see my blog’s sitemap here.
To add your sitemap to Google Search Console, click on the “Sitemap” link on the navbar on the left side of the page, and type your sitemap’s full URL in this dialog:
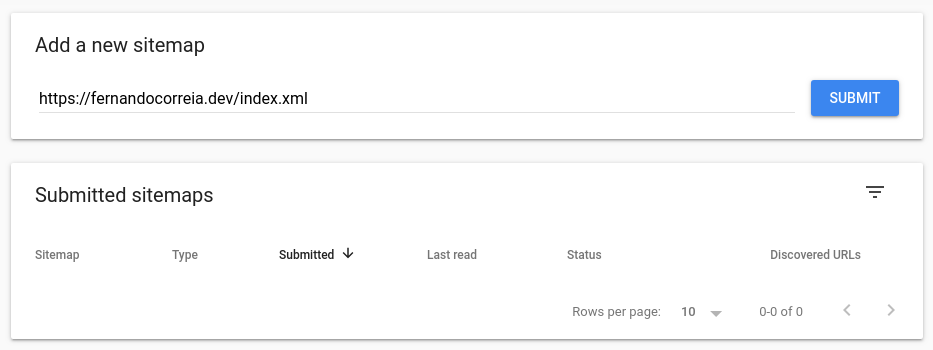
After you press Submit, Google will read and validate your sitemap. If it works, it will display it on the “Submitted sitemaps” list, along with a reassuringly green “Success” message.

You’re all set! Now give Google at least a day to process your website and you can start checking your statistics.